Work in progress
The content of this page was not yet updated for Godot
4.2
and may be outdated. If you know how to improve this page or you can confirm
that it's up to date, feel free to open a pull request.
Setting up the game area
W tej pierwszej części przygotujemy obszar gry. Zacznijmy od zaimportowania początkowych zasobów (assets) i ustawieniu sceny gry.
Przygotowaliśmy projekt Godot z modelami 3D i dźwiękami, których będziemy używać w tym samouczku. Łącze do niego znajduje się na początkowej stronie. Jeśli jeszcze tego nie zrobiłeś, możesz pobrać archiwum tutaj: `zasoby Zmiażdż Creepsów <https://github.com/godotengine/godot-3d-dodge-the-creeps/releases/tag/1.1.0> `__.
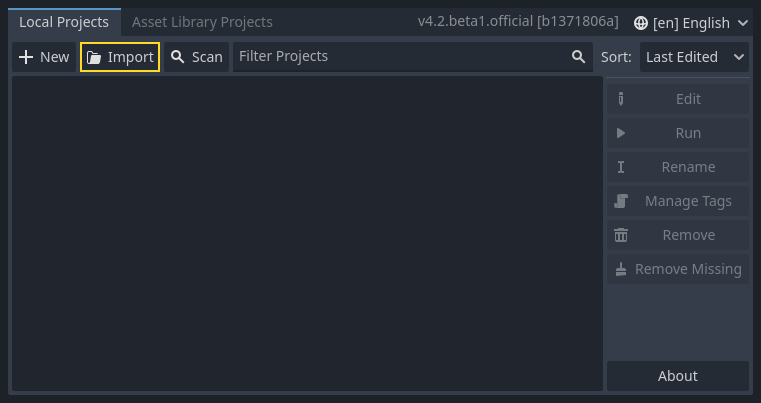
Rozpakuj ten projekt na komputerze. Następnie otwórz Godot i w Menedżerze Projektu, kliknij przycisk Zaimportuj, aby zaimportować projekt.
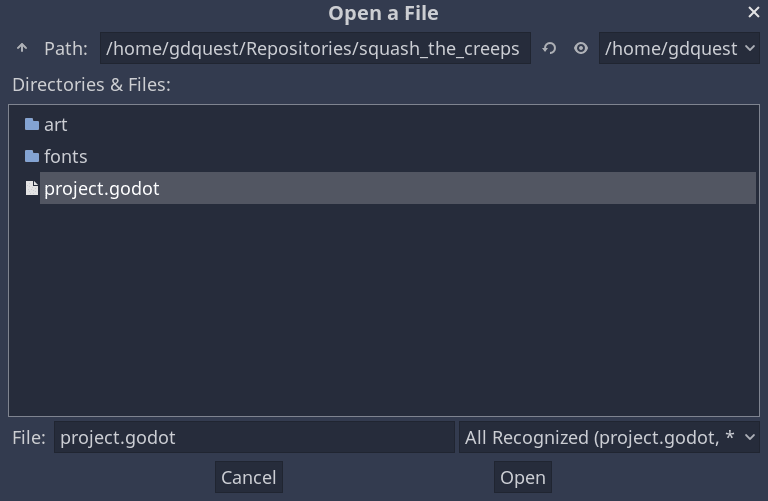
W wyskakującym okienku wpisz pełną ścieżkę do nowo stworzonego katalogu squash_the_creeps_start/. Kliknij przycisk Przeglądaj po prawej stronie by otworzyć przeglądanie plików i przejść do pliku project.godot, który znajduje się w tym katalogu.
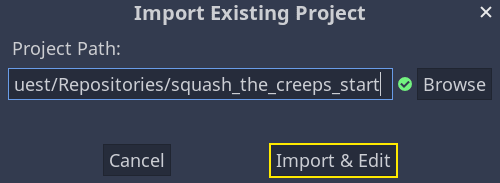
Kliknij Importuj i Edytuj by otworzyć projekt w Edytorze.
Projekt zawiera ikonkę oraz dwa foldery: art/ i fonts/. Znajdziesz tam zasoby graficzne i muzykę, których będziemy używać w grze.
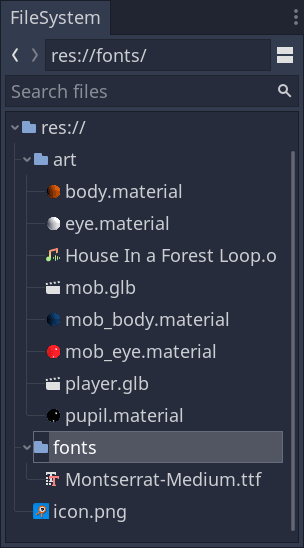
Są tam dwa modele 3D, player.glb i mob.glb, materiały będące składowymi tych modeli oraz plik z muzyką.
Ustawianie obszaru, gdzie będzie toczyć się gra
Stworzymy naszą główną scenę za pomocą zwyczajnego Węzła, który będzie korzeniem całej kompozycji. W doku Scena kliknij przycisk Dodaj węzeł podrzędny reprezentowany przez ikonę „+” w lewym górnym rogu i kliknij dwukrotnie na Węzeł. Nazwij go „Main” . Alternatywną metodą zmiany nazwy węzła jest kliknięcie prawym przyciskiem myszy Węzeł i wybranie opcji Zmień nazwę (lub F2). Aby dodać węzeł do sceny, możesz też nacisnąć Ctrl + a (lub Cmd + a na macOS).
Save the scene as main.tscn by pressing Ctrl + s (Cmd + s on macOS).
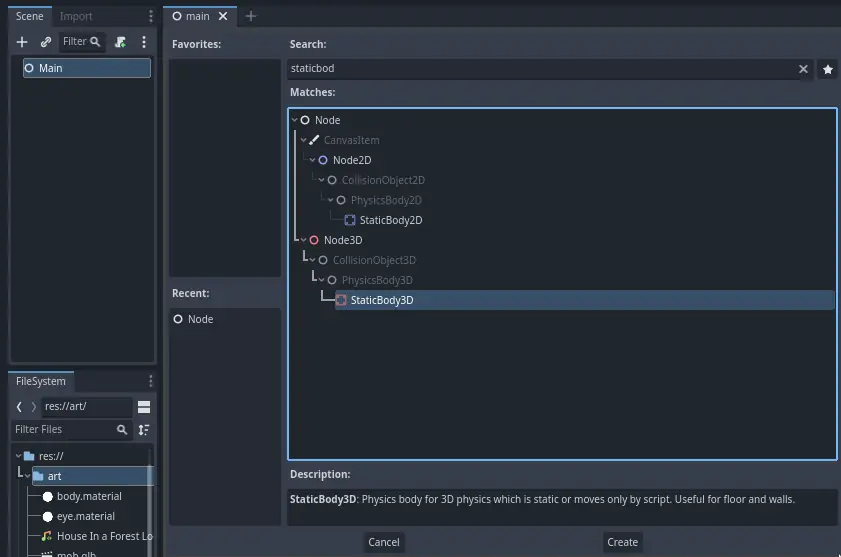
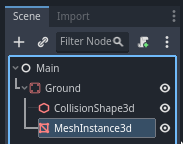
Zaczniemy od dodania poziomu podłogi, która zapobiegnie opadaniu postaci. Aby utworzyć statyczne kolidery (static collider), takie jak podłogi, ściany lub inne nieruchome przeszkody, możesz użyć węzłów StaticBody3D. Wymagane jest dodanie węzłów podrzędnych CollisionShape3D w celu zdefiniowania obszaru kolizji. Po wybraniu węzła Main dodaj węzeł StaticBody3D, a następnie CollisionShape3D. Zmień nazwę StaticBody3D na Ground.
Twoja scena powinna wyglądać tak
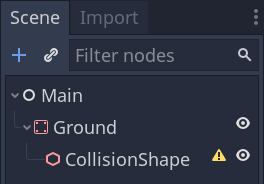
A warning sign next to the CollisionShape3D appears because we haven't defined its shape. If you click the icon, a popup appears to give you more information.

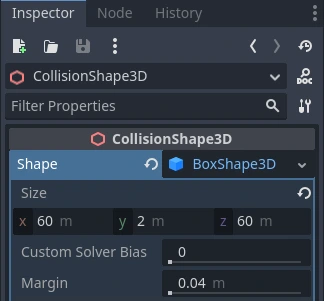
Aby utworzyć kształt, wybierz węzeł CollisionShape3D, przejdź do Inspektora i kliknij pole <empty> obok właściwości Shape. Utwórz nowy BoxShape3D.
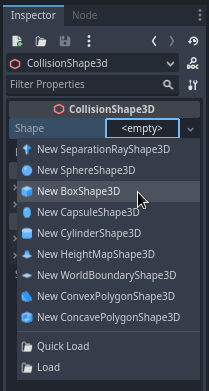
Kształt pudełka jest idealnie dopasowany do płaskiego podłoża i ścian. Jego grubość sprawia, że niezawodnie blokuje nawet szybko poruszające się obiekty.
A box's wireframe appears in the viewport with three orange dots. You can click
and drag these to edit the shape's extents interactively. We can also precisely
set the size in the inspector. Click on the BoxShape3D to expand the resource.
Set its Size to 60 on the X axis, 2 for the Y axis, and 60 for
the Z axis.
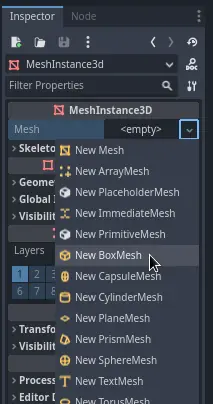
Collision shapes are invisible. We need to add a visual floor that goes along
with it. Select the Ground node and add a MeshInstance3D as its child.
In the Inspector, click on the field next to Mesh and create a BoxMesh resource to create a visible box.
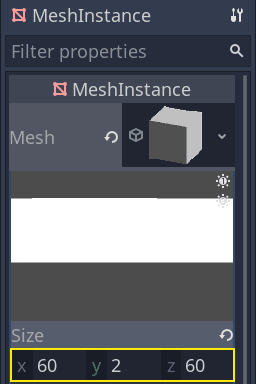
Once again, it's too small by default. Click the box icon to expand the
resource and set its Size to 60, 2, and 60.
You should see a wide grey slab that covers the grid and blue and red axes in the viewport.
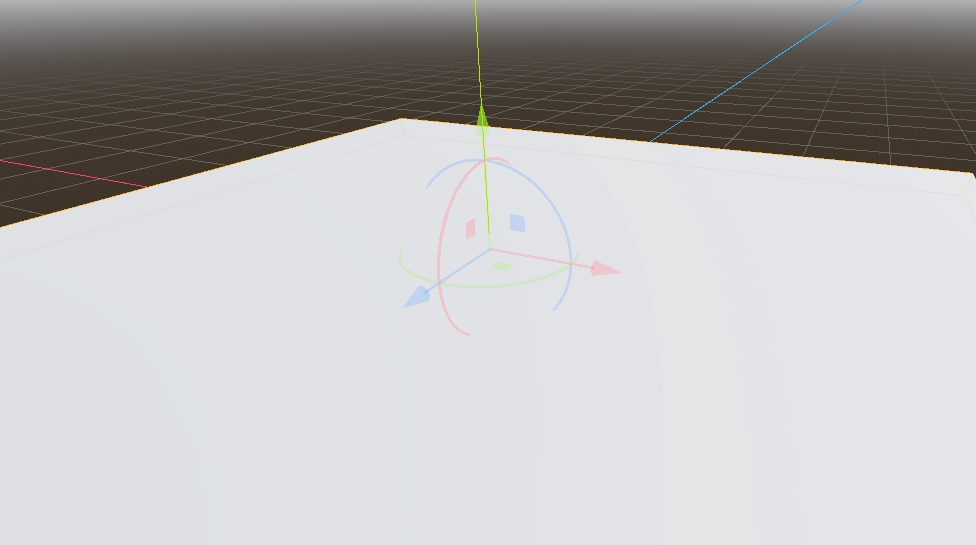
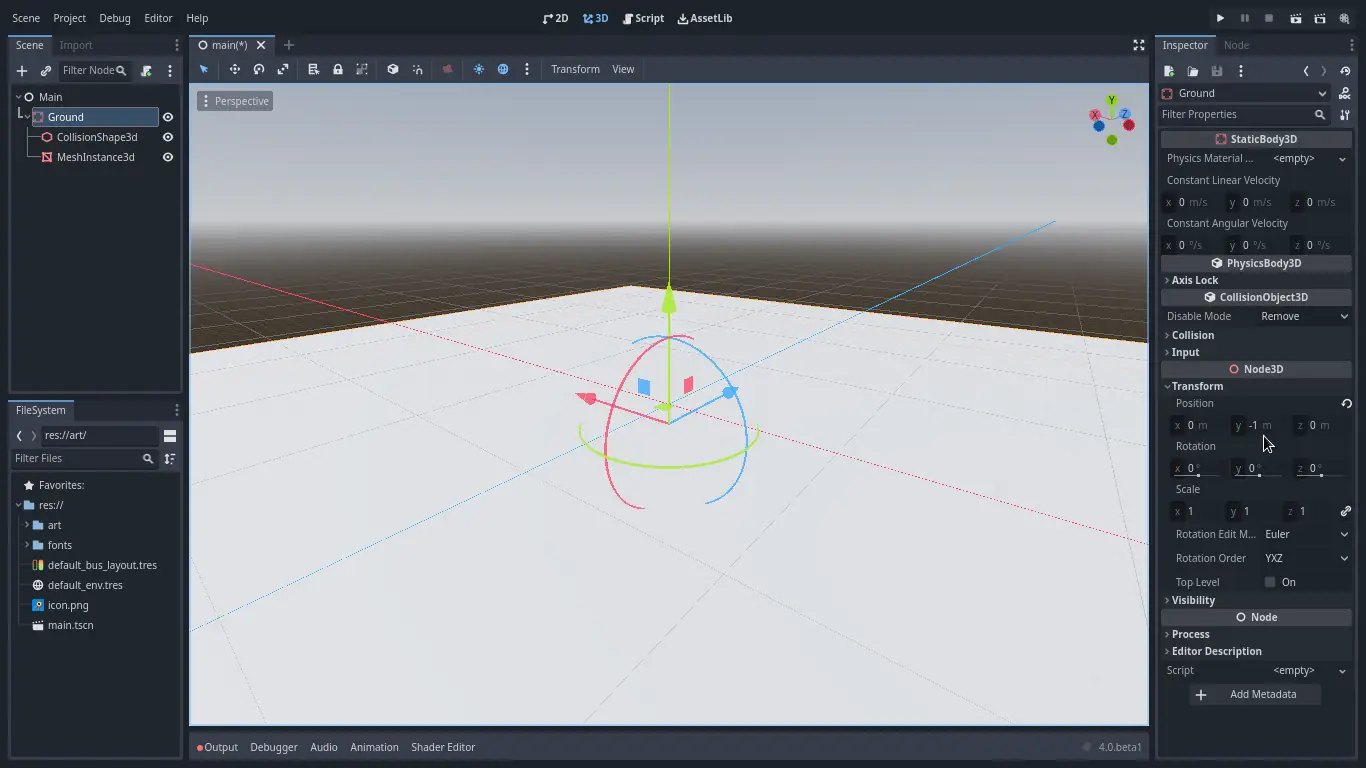
We're going to move the ground down so we can see the floor grid. Select the
Ground node, hold the Ctrl key down to turn on grid snapping,
and click and drag down on the Y axis. It's the green arrow in the move gizmo.
Informacja
If you can't see the 3D object manipulator like on the image above, ensure the Select Mode is active in the toolbar above the view.
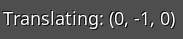
Move the ground down 1 meter, in order to have a visible editor grid. A label in the bottom-left corner of the
viewport tells you how much you're translating the node.
Informacja
Moving the Ground node down moves both children along with it. Ensure you move the Ground node, not the MeshInstance3D or the CollisionShape3D.
Ultimately, Ground's transform.position.y should be -1
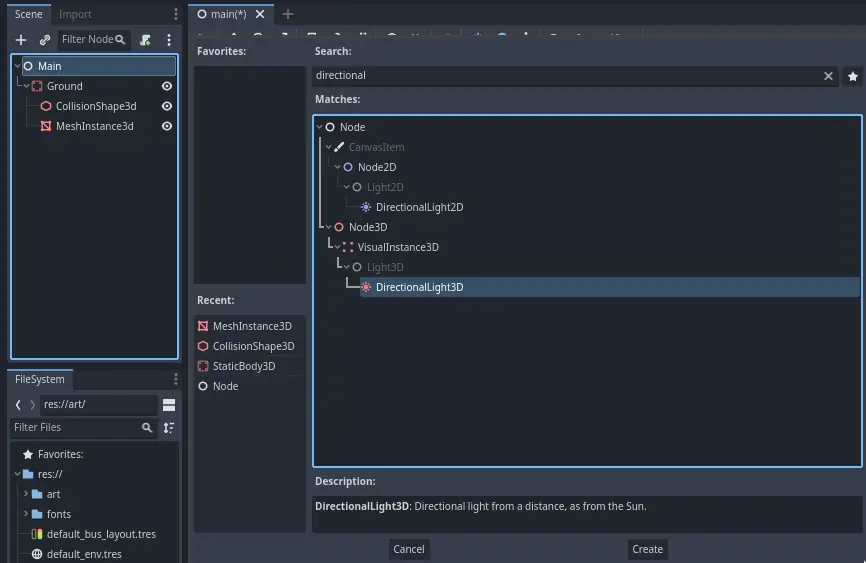
Let's add a directional light so our scene isn't all grey. Select the Main
node and add a child node DirectionalLight3D.
We need to move and rotate the DirectionalLight3D node. Move it up by clicking and dragging on the manipulator's green arrow and click and drag on the red arc to rotate it around the X axis, until the ground is lit.
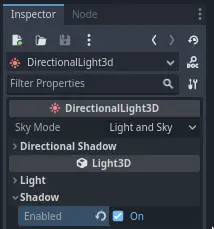
In the Inspector, turn on Shadow -> Enabled by clicking the checkbox.
Na tym etapie, Twój projekt powinien wyglądać tak.

That's our starting point. In the next part, we will work on the player scene and base movement.